Azure prerequisites
The expansive Azure cloud platform encompasses over 200 products and cloud services meticulously crafted to facilitate the realization of innovative solutions. Its purpose is to not only address current challenges but also to pave the way for the future. Seamlessly spanning across various clouds, on-premises environments, and the edges of technology, Azure empowers you to construct, operate, and oversee applications.
Features
Through our Azure integrations, you unlock the capacity to access performance insights via dynamically scaling dashboards, establish alerts for timely notifications during issues, and harness data querying capabilities to craft tailored charts and dashboards tailored to your unique observability requirements.
Overview
The process of integrating azure services in onepane requires the following:
- Create a AD application for onepane in azure
- Grant required permissions over azure resources
- Generate Credentials and place it in onepane
Steps
here's a step-by-step guide on how to create an Azure AD application with the necessary permissions for integrating with Azure resources and incident alerts to onepane:
Step 1: Sign in to the Azure Portal
- Open your web browser and navigate to the Azure Portal.
- Sign in with your Azure account credentials.
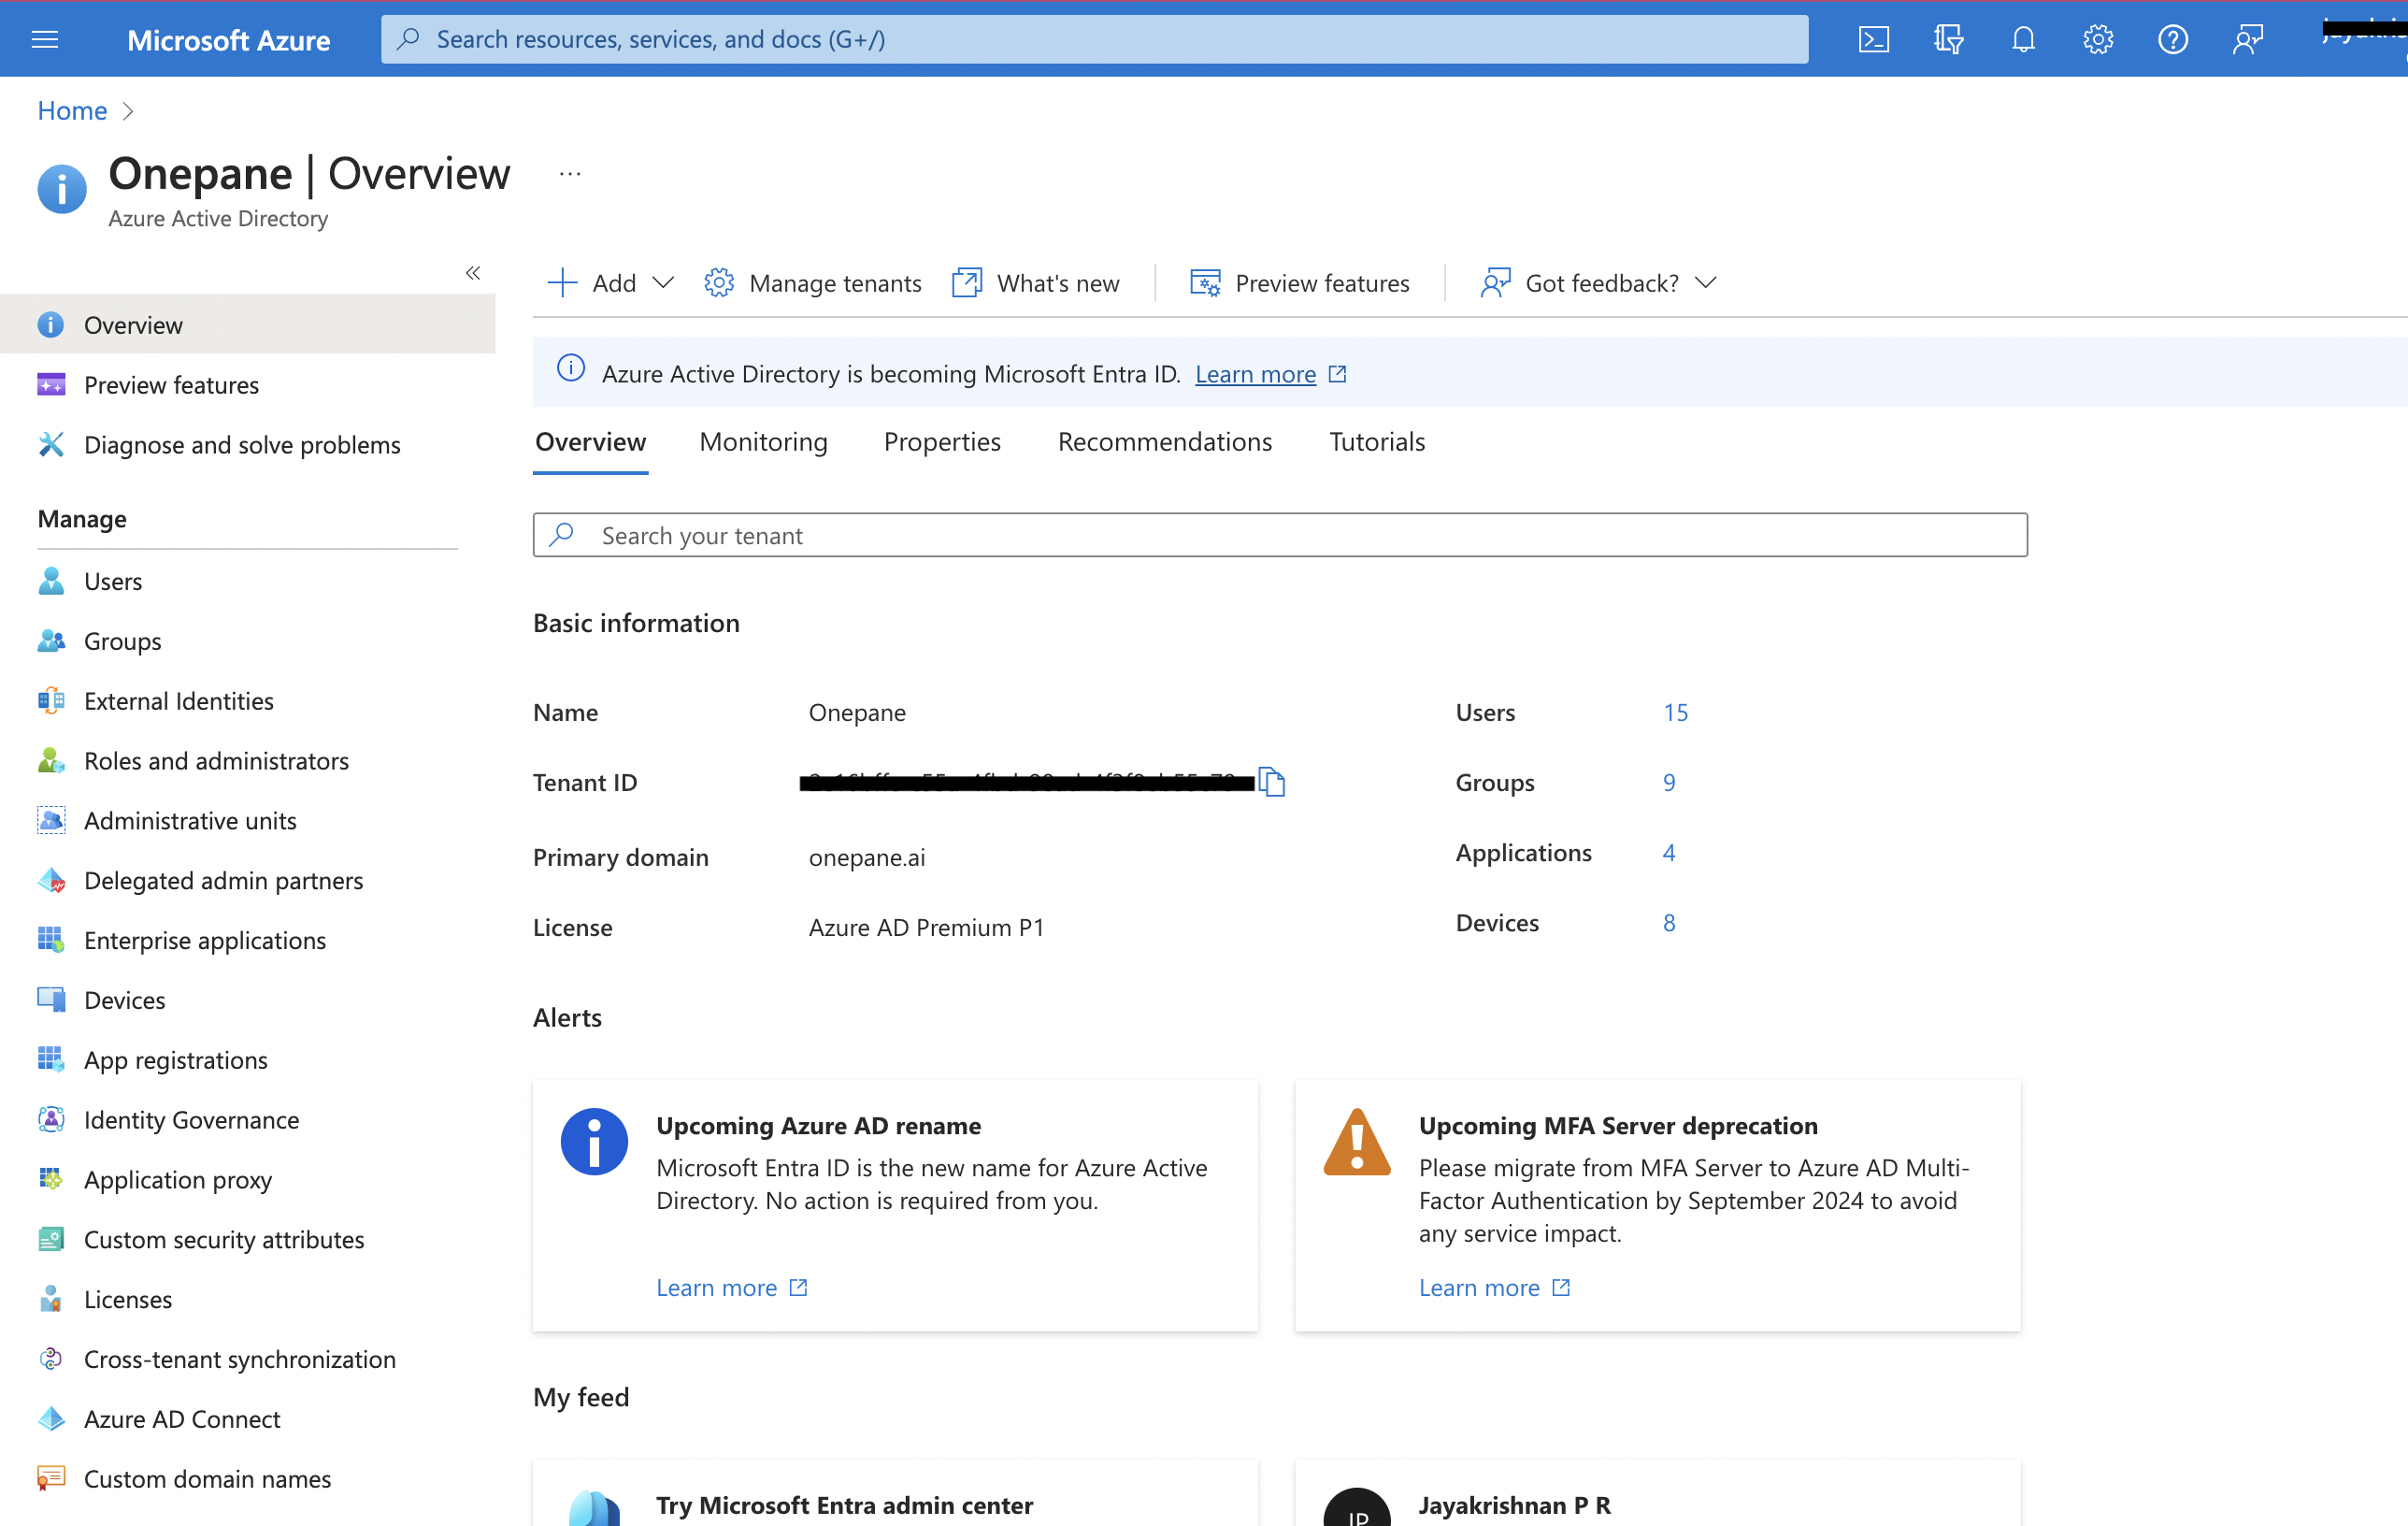
Step 2: Navigate to the Azure Active Directory (Azure AD) Section
In the Azure Portal, click on "Azure Active Directory" from the left-hand navigation menu.
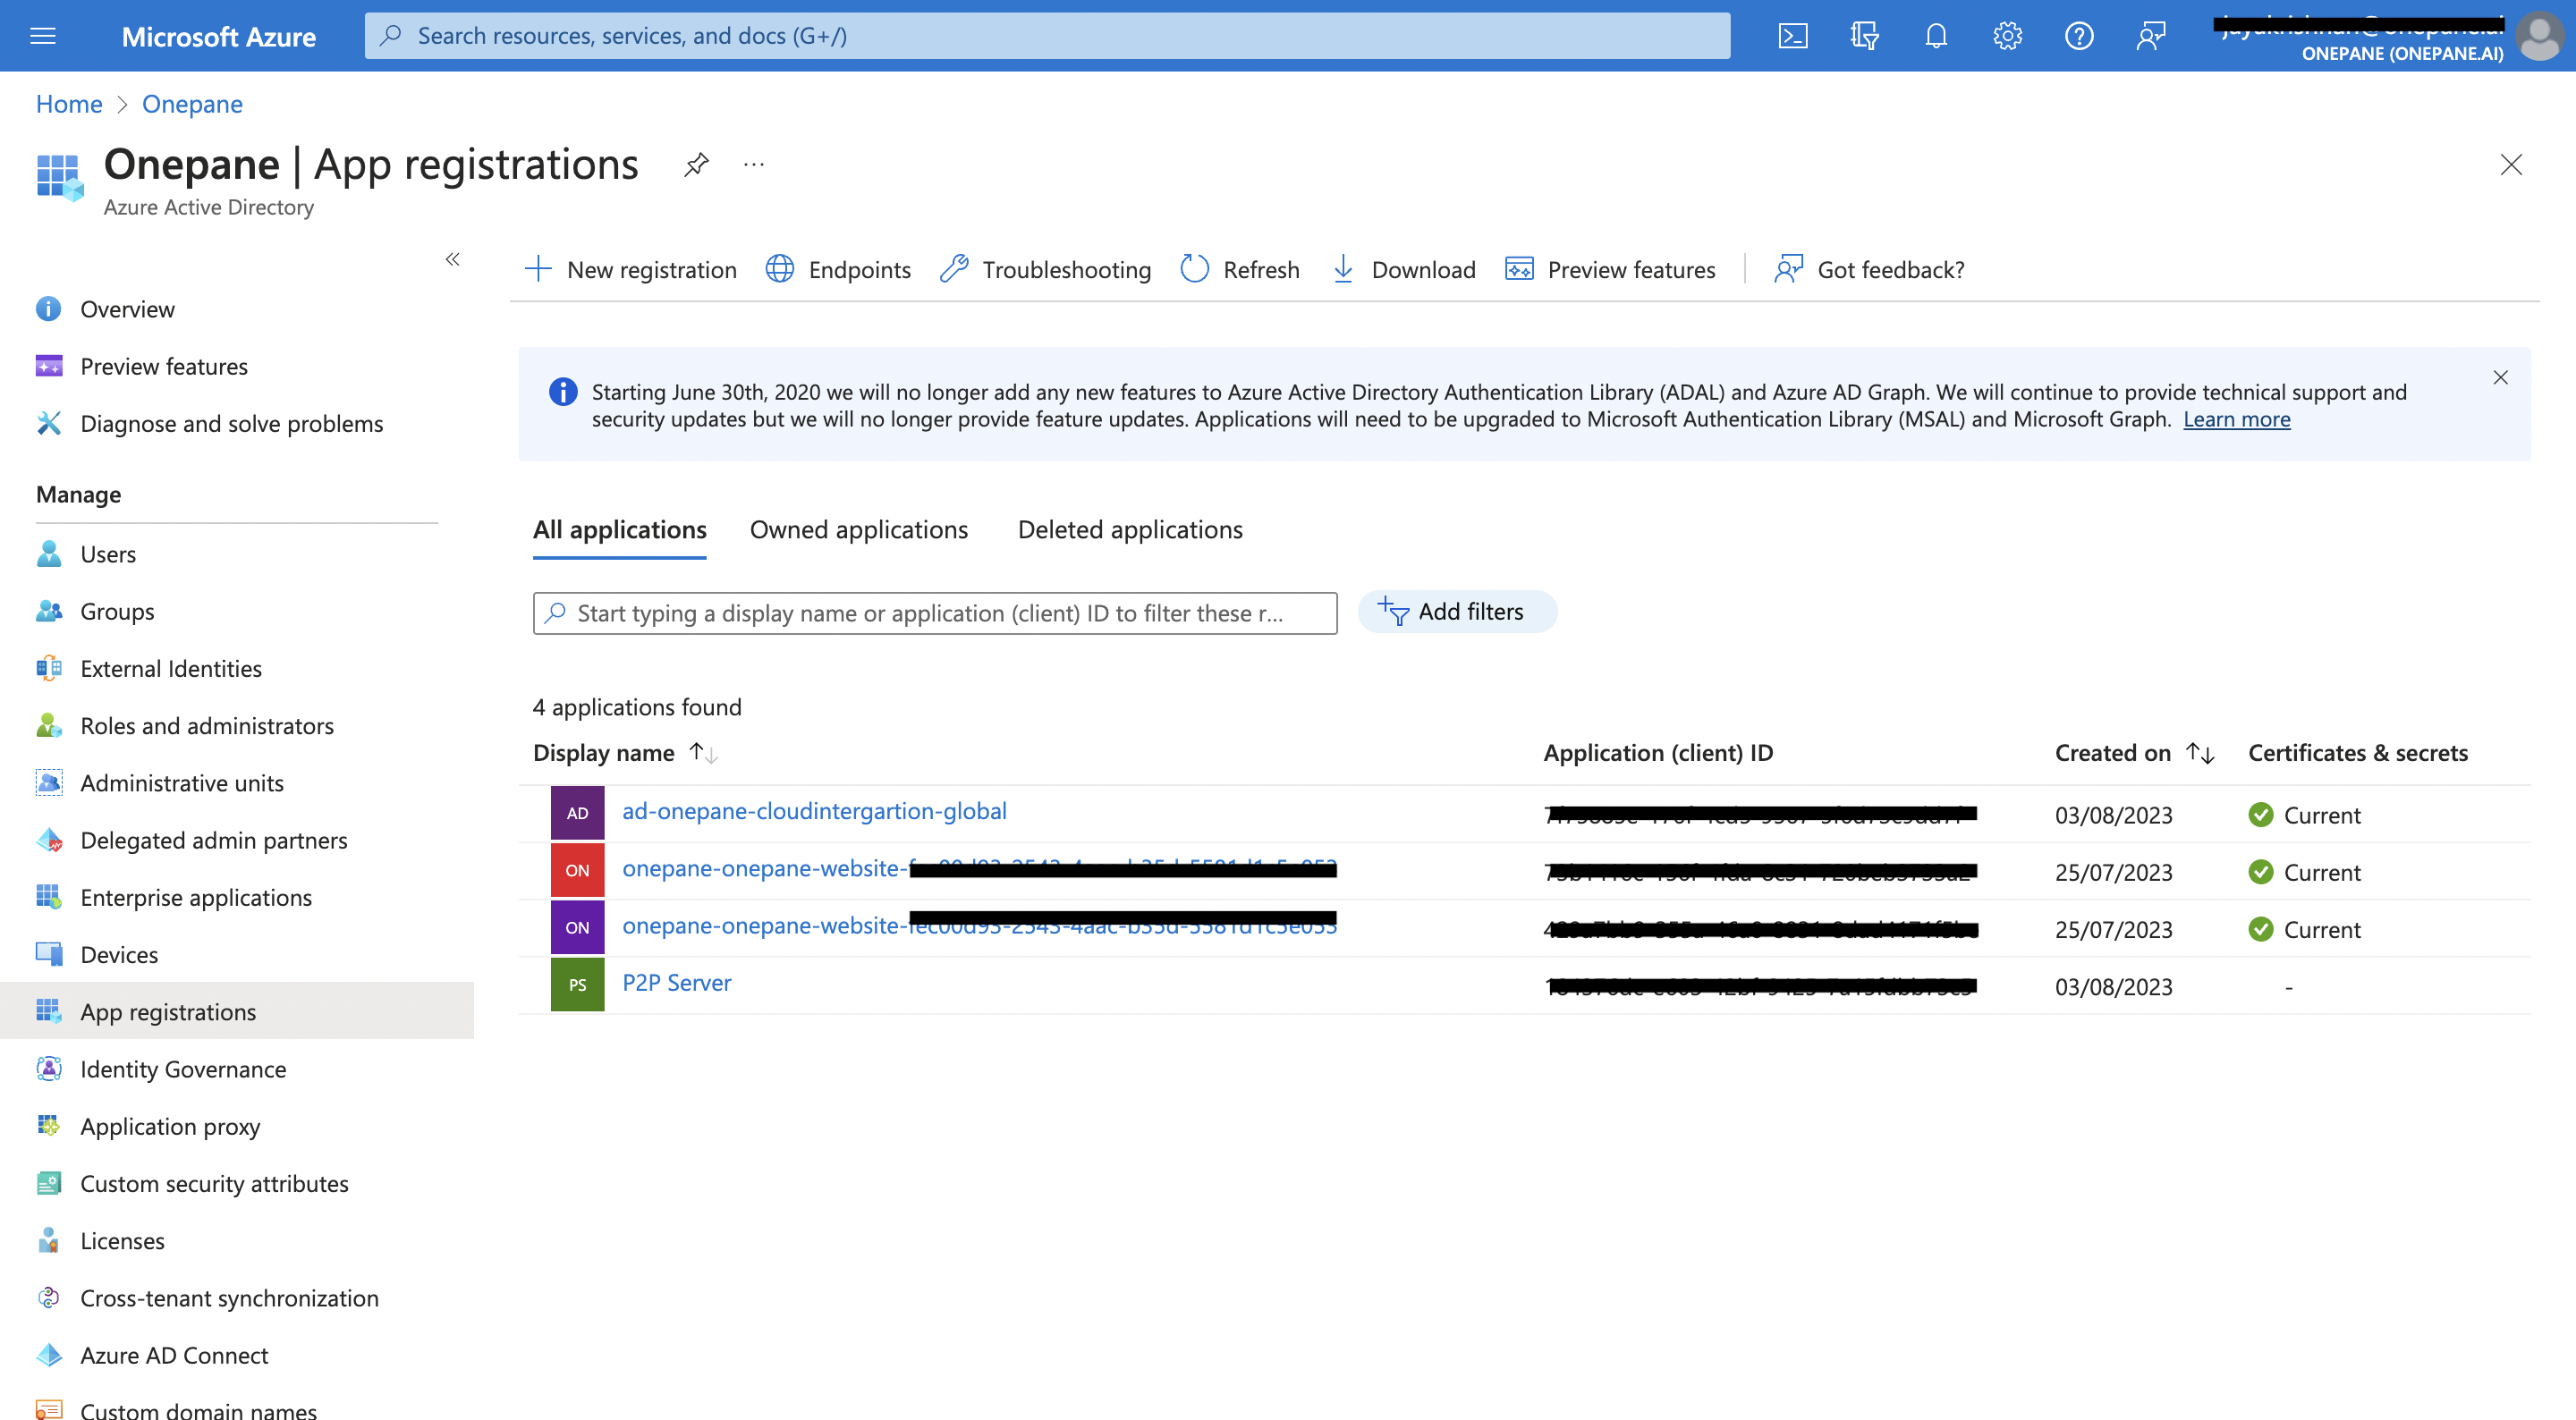
Step 3: Register an Application
In the Azure AD section, click on "App registrations" in the left-hand menu.
Click the "+ New registration" button.
Step 4: Configure Application Details
Name: Enter a name for your application.
Supported account types: Always choose the appropriate account types based on your integration needs. For now select "Accounts in this organizational directory only."
Redirect URI (optional): leave it empty
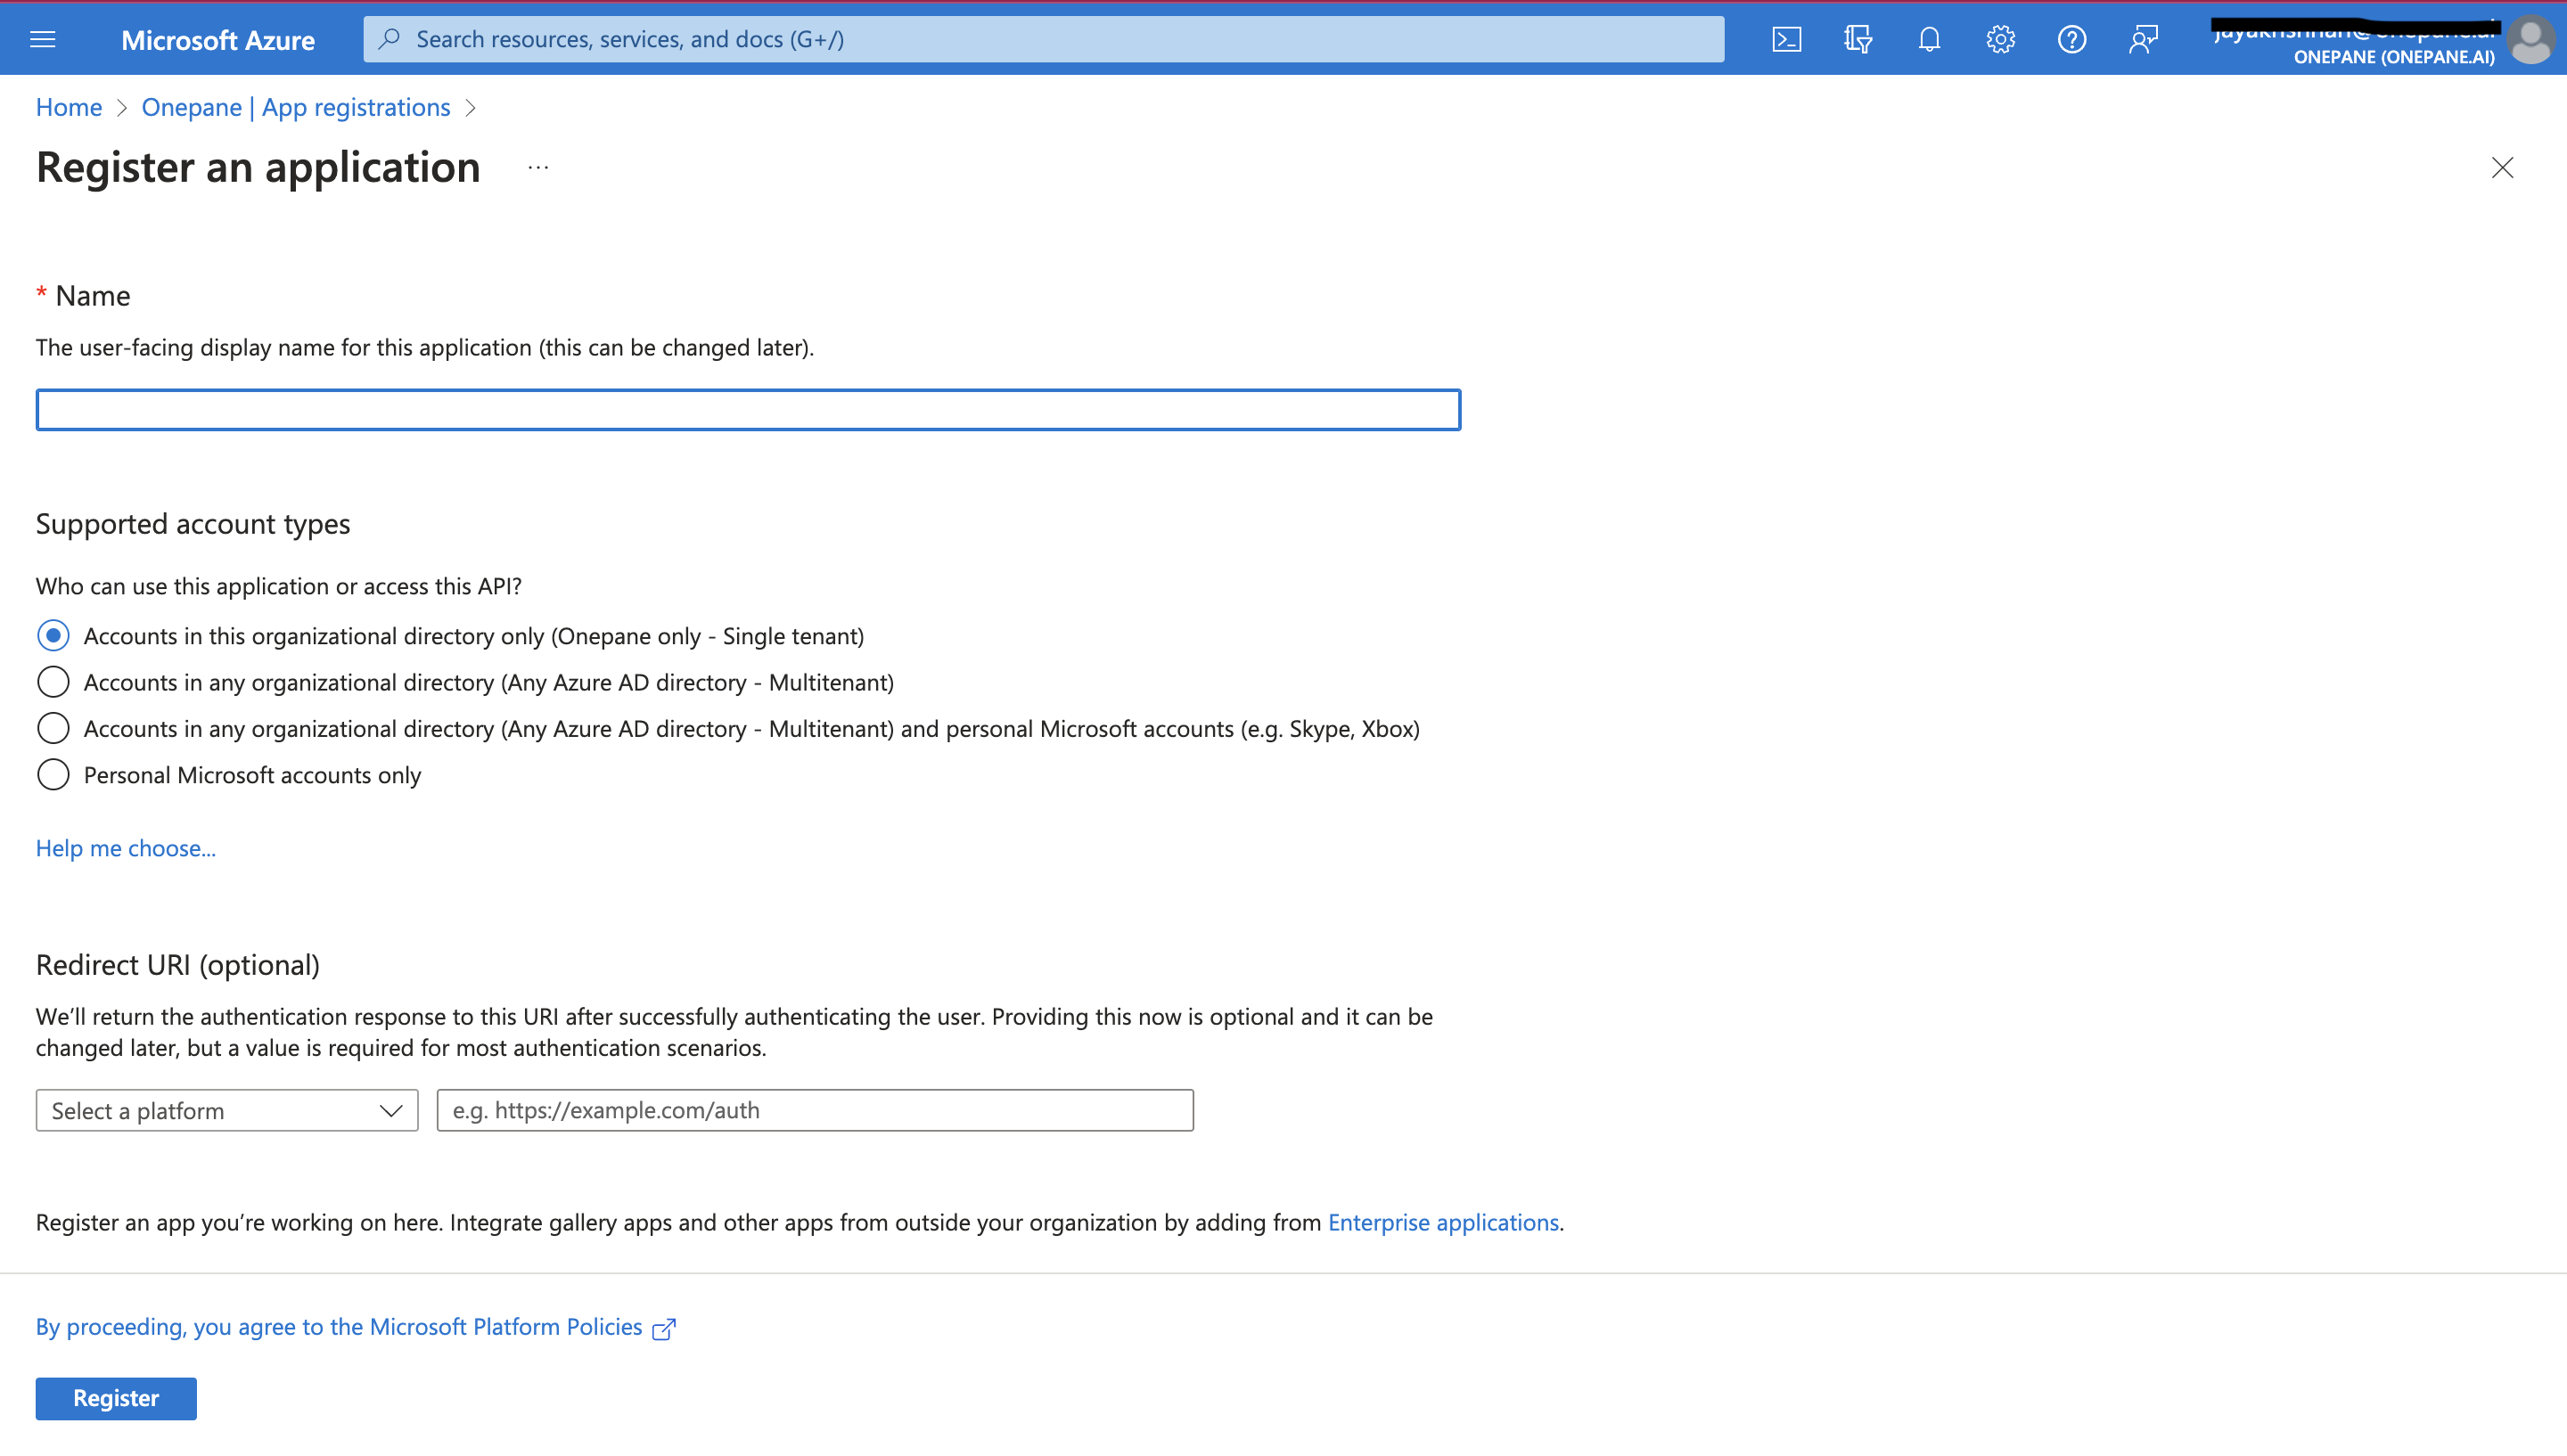
Step 5: Register the Application
Click the "Register" button to create the application.
Open the relevant application
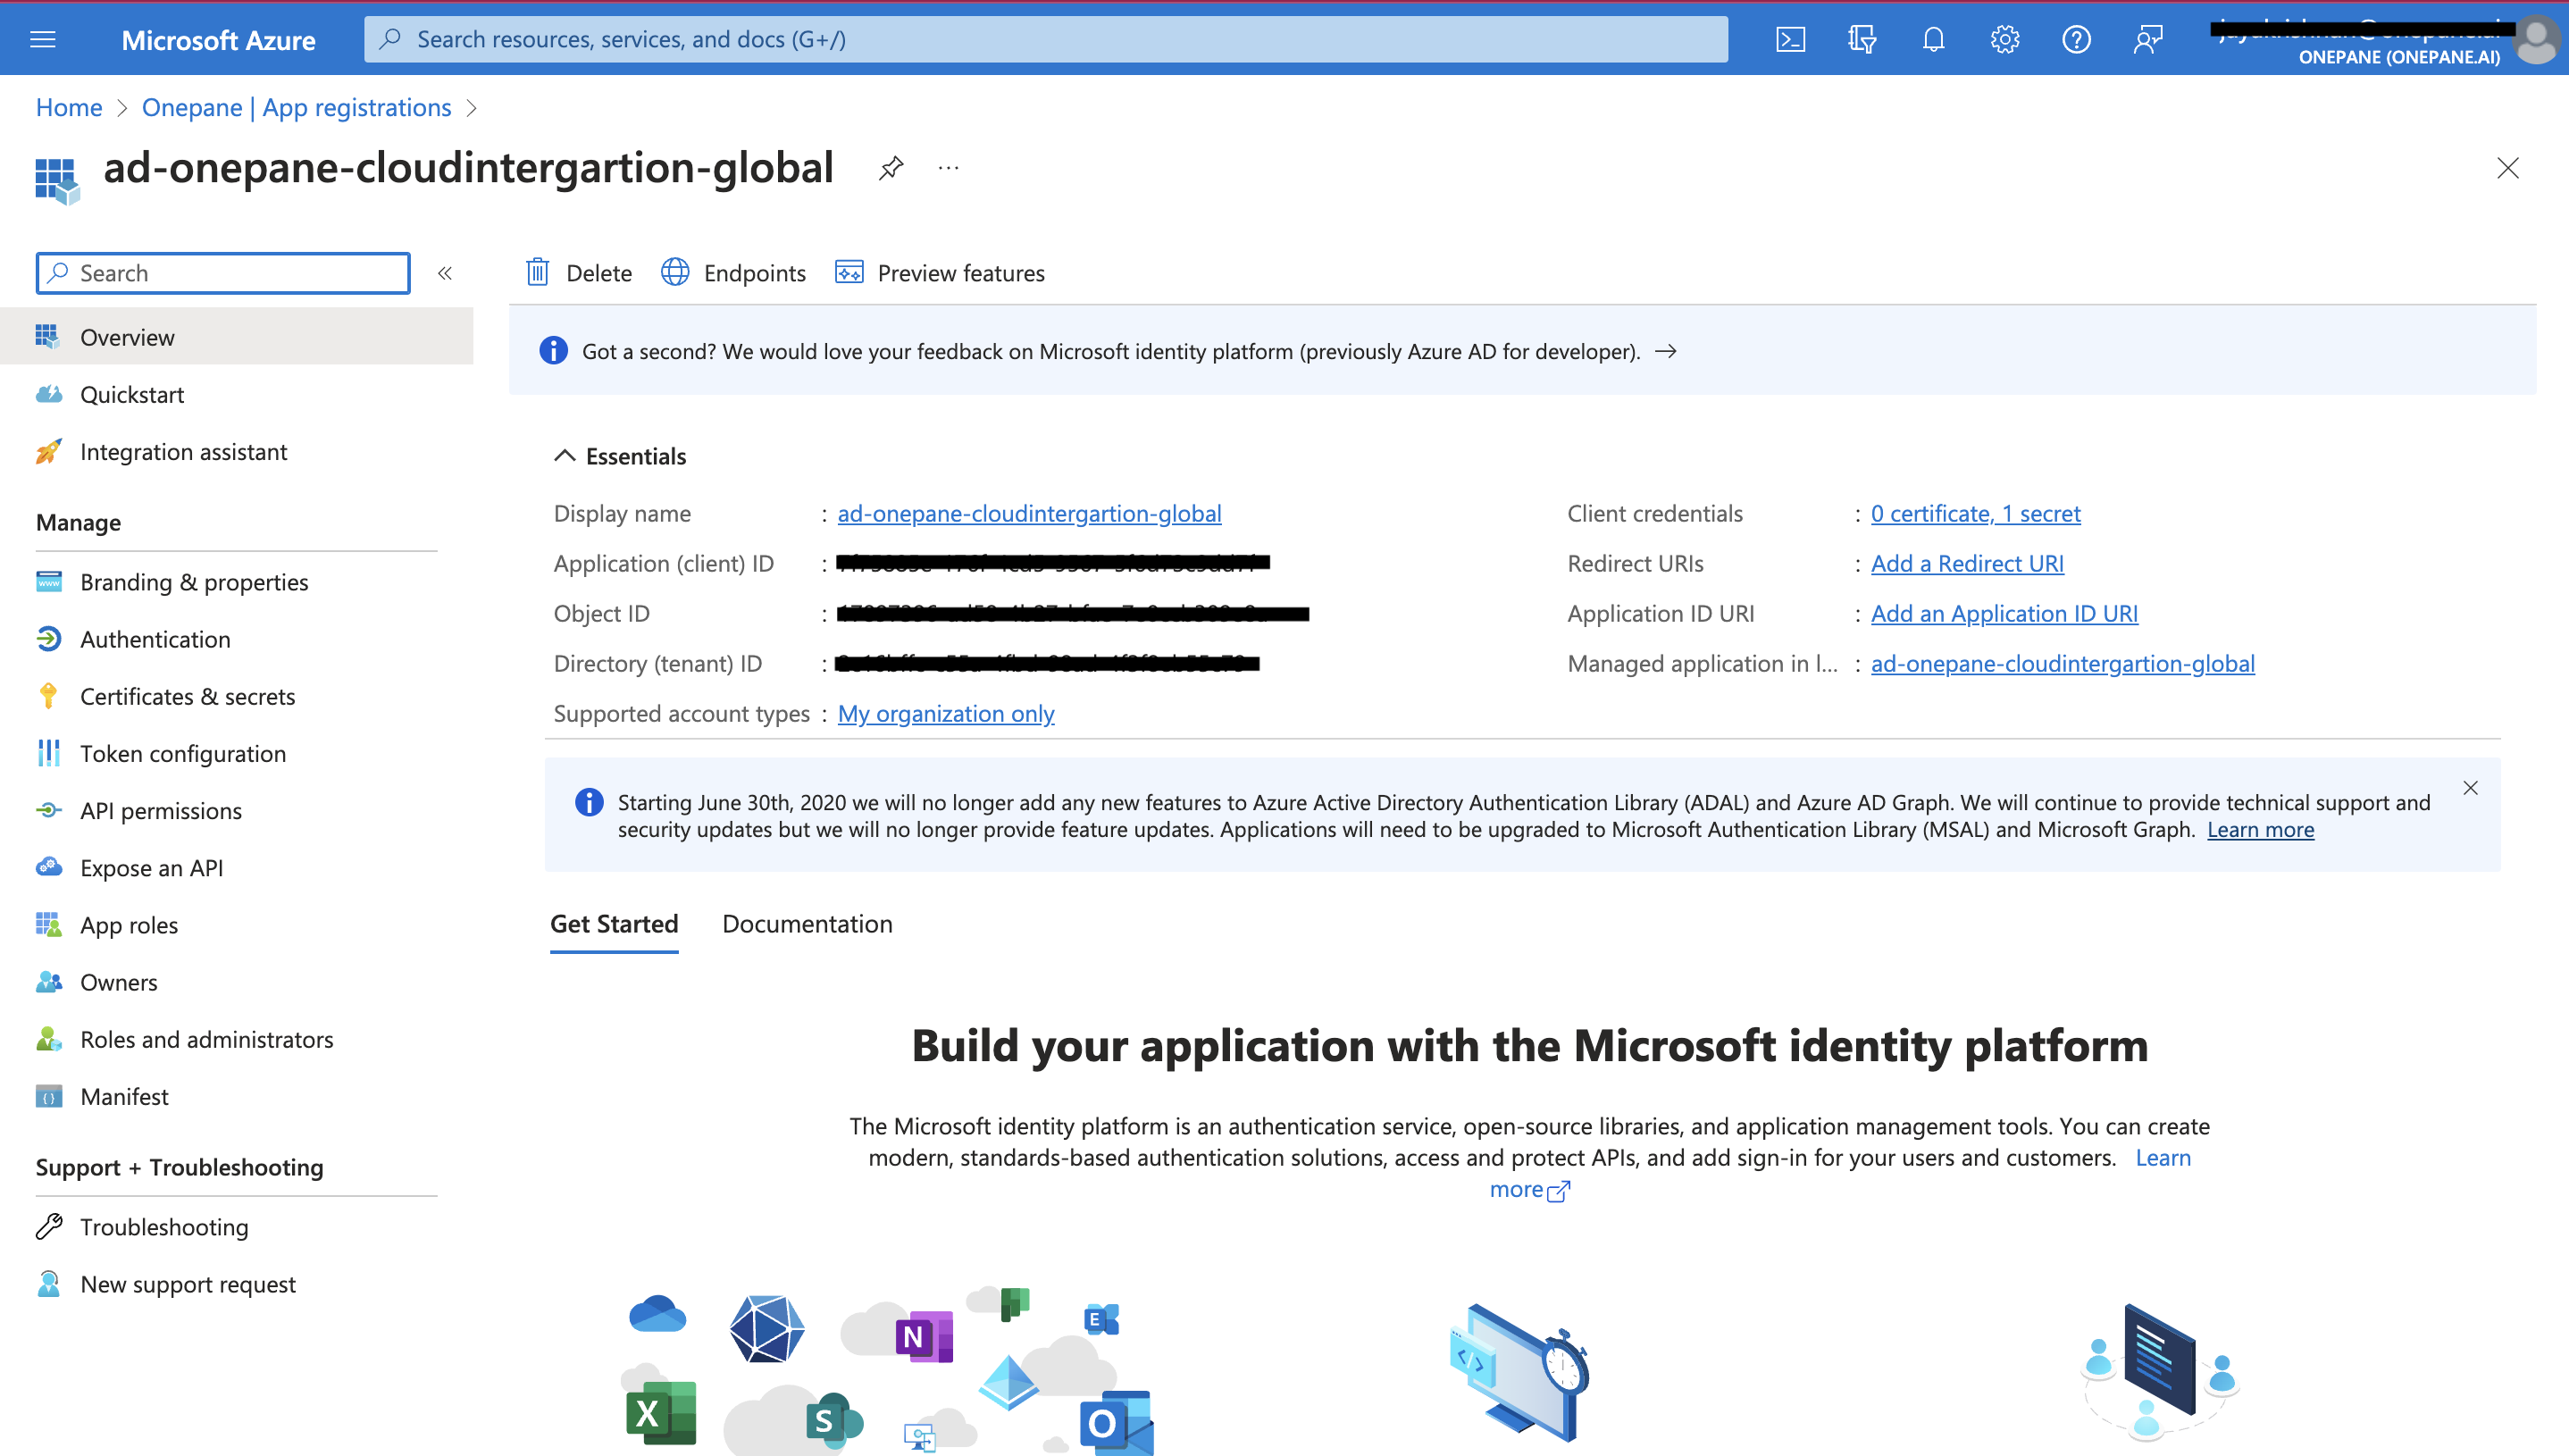
Step 6: Configure API Permissions
In the application's overview page, navigate to the "API permissions" tab.

Click the "+ Add a permission" button.
Onepane needs the following permissions
- Log analytics API - Data.Read
- Microsoft Graph - User.Read
- Microsoft Graph - Directory.Read.All
- Microsoft Graph - APIConnectors.Read.All
- Microsoft Graph - ExternalConnections.Read.All
- Microsoft Graph - ExternalItem.Read.All
Click the "Add permissions" button to save your selections.
Step 7: Grant Admin Consent
- After adding the necessary permissions, you will need to obtain consent from an administrator to use these permissions.
- Click the "Grant admin consent for [your tenant name]" button. An administrator will need to sign in and approve these permissions.
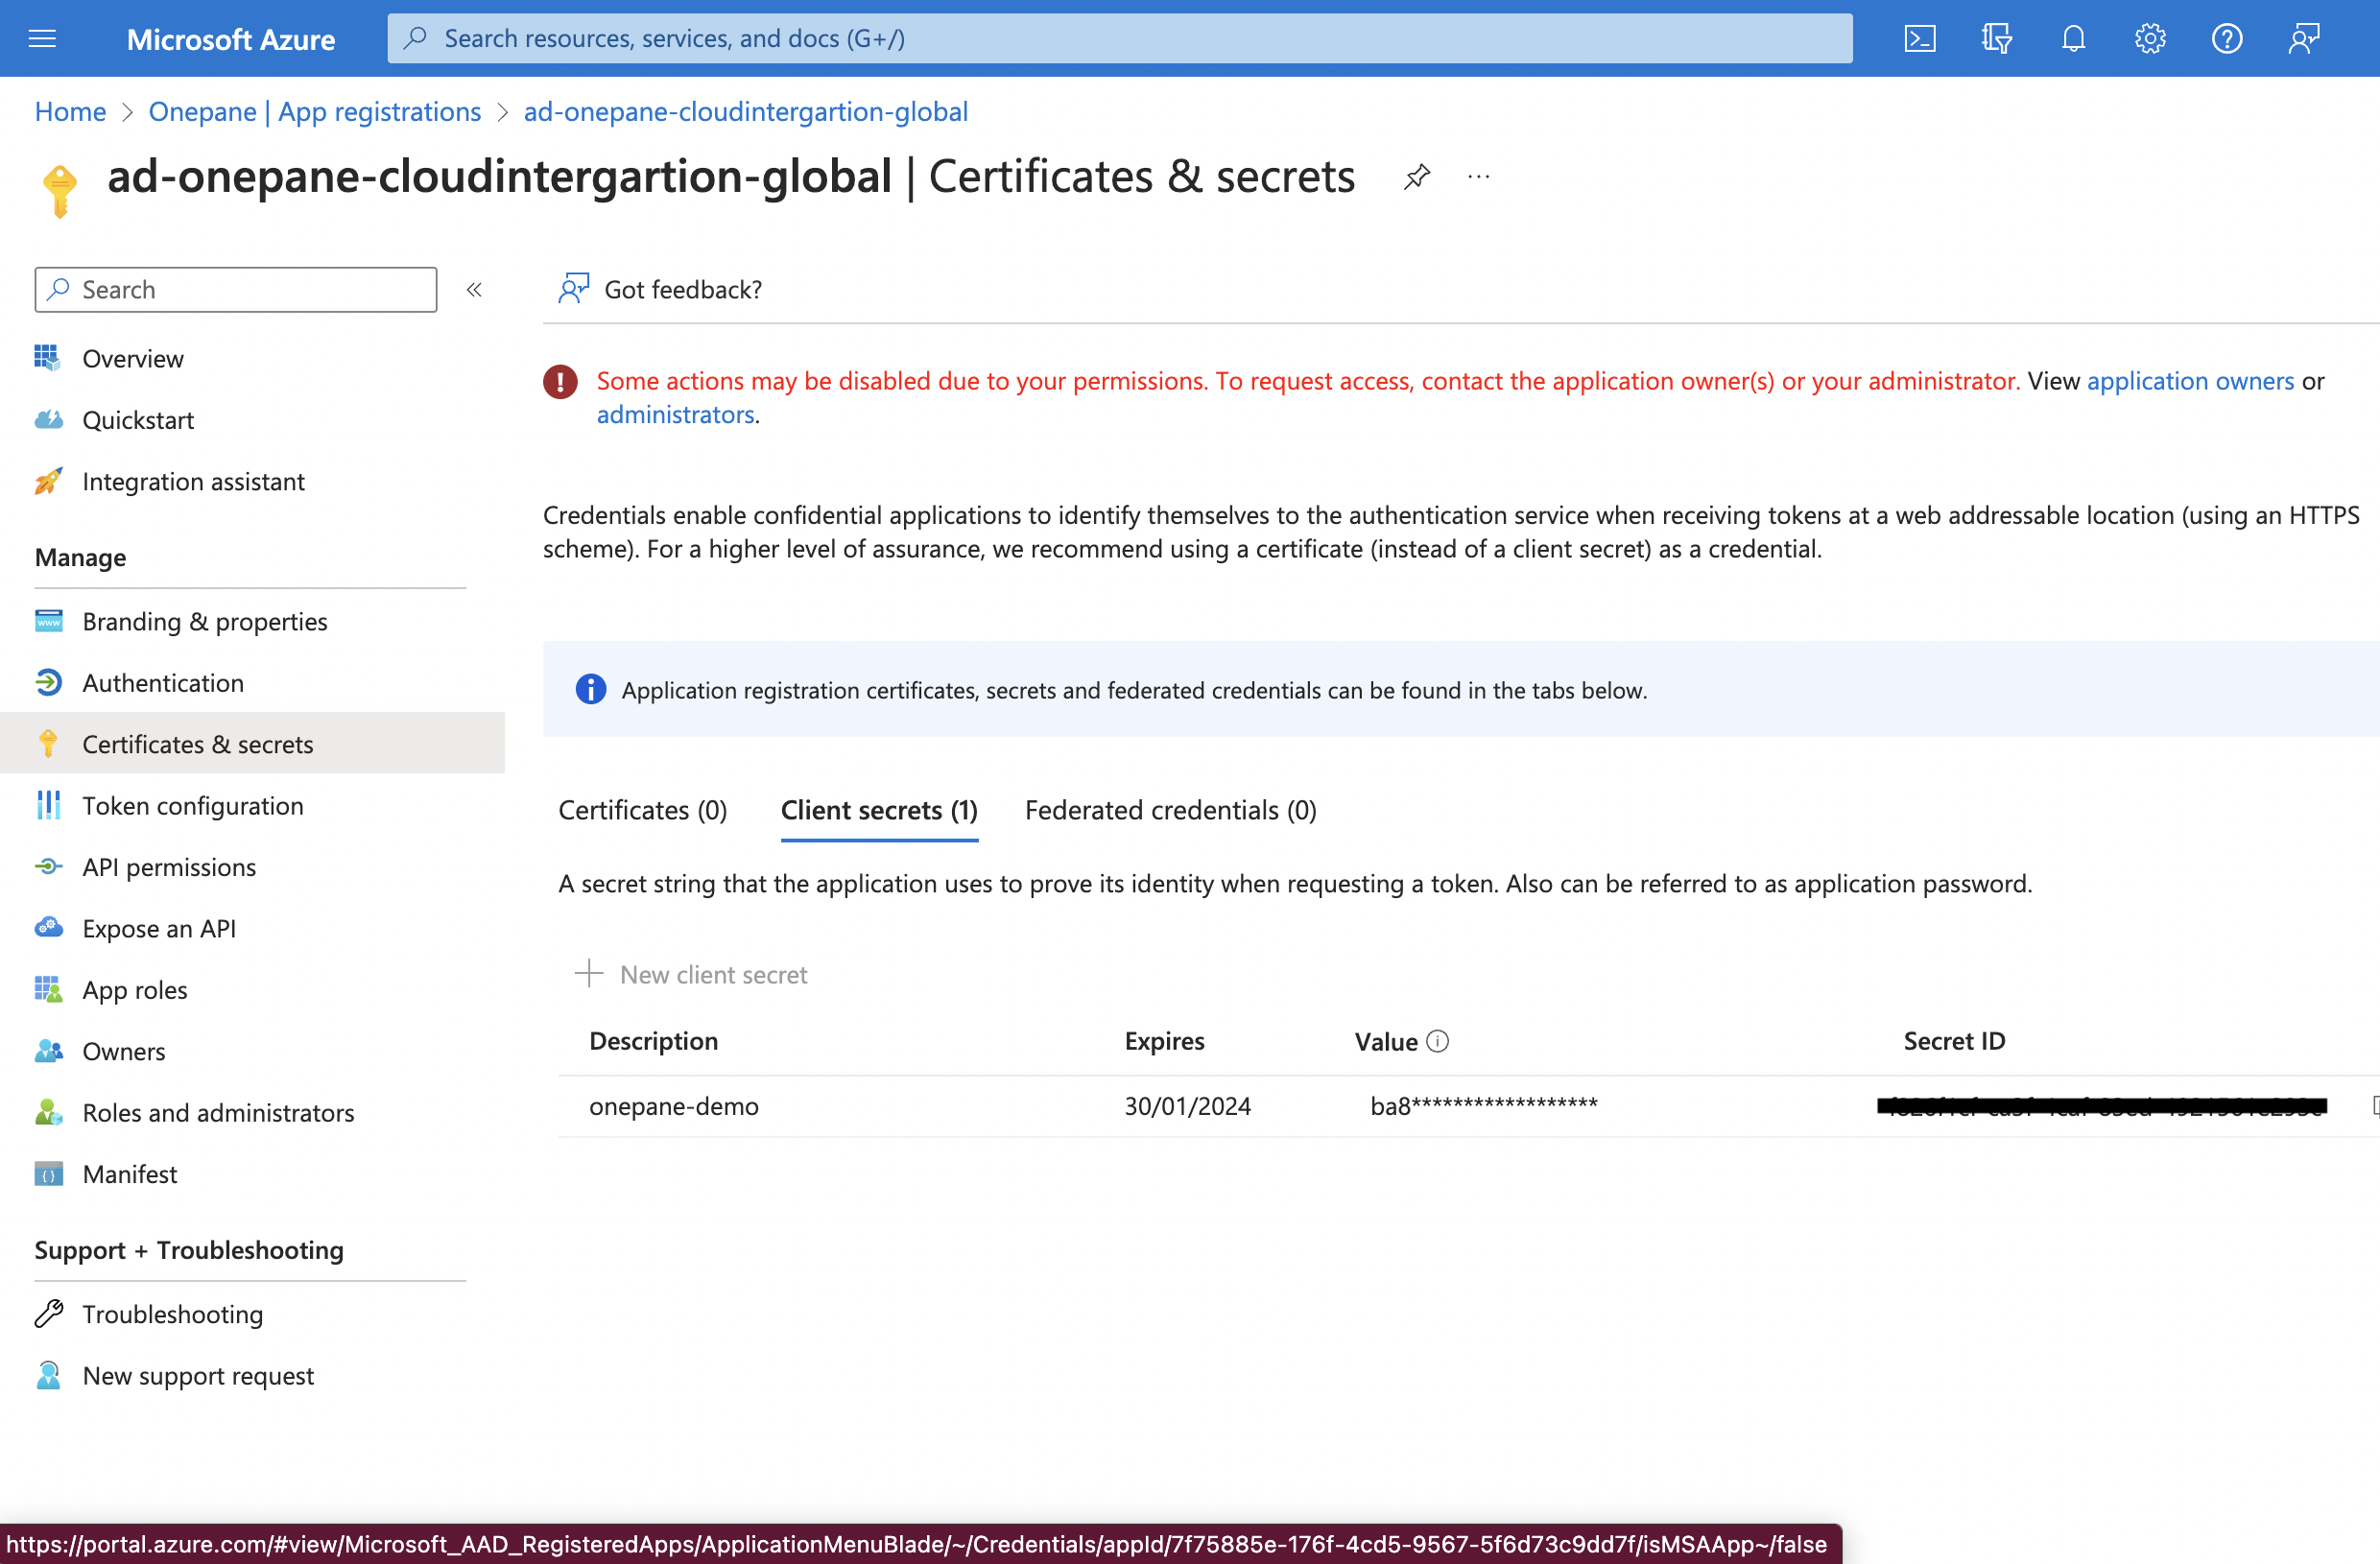
Step 8: Create client credentials
Go to Certificates and secrets
Click the "New client secret" button and create a secret for onepane app. Store this credentials for further use
Step 9: Grant Reader access over the subscription
Open the Current subscription's page

In the subscription's overview page, navigate to the "Access control" tab. And click on '+ Add'. Select Add role assignment from it
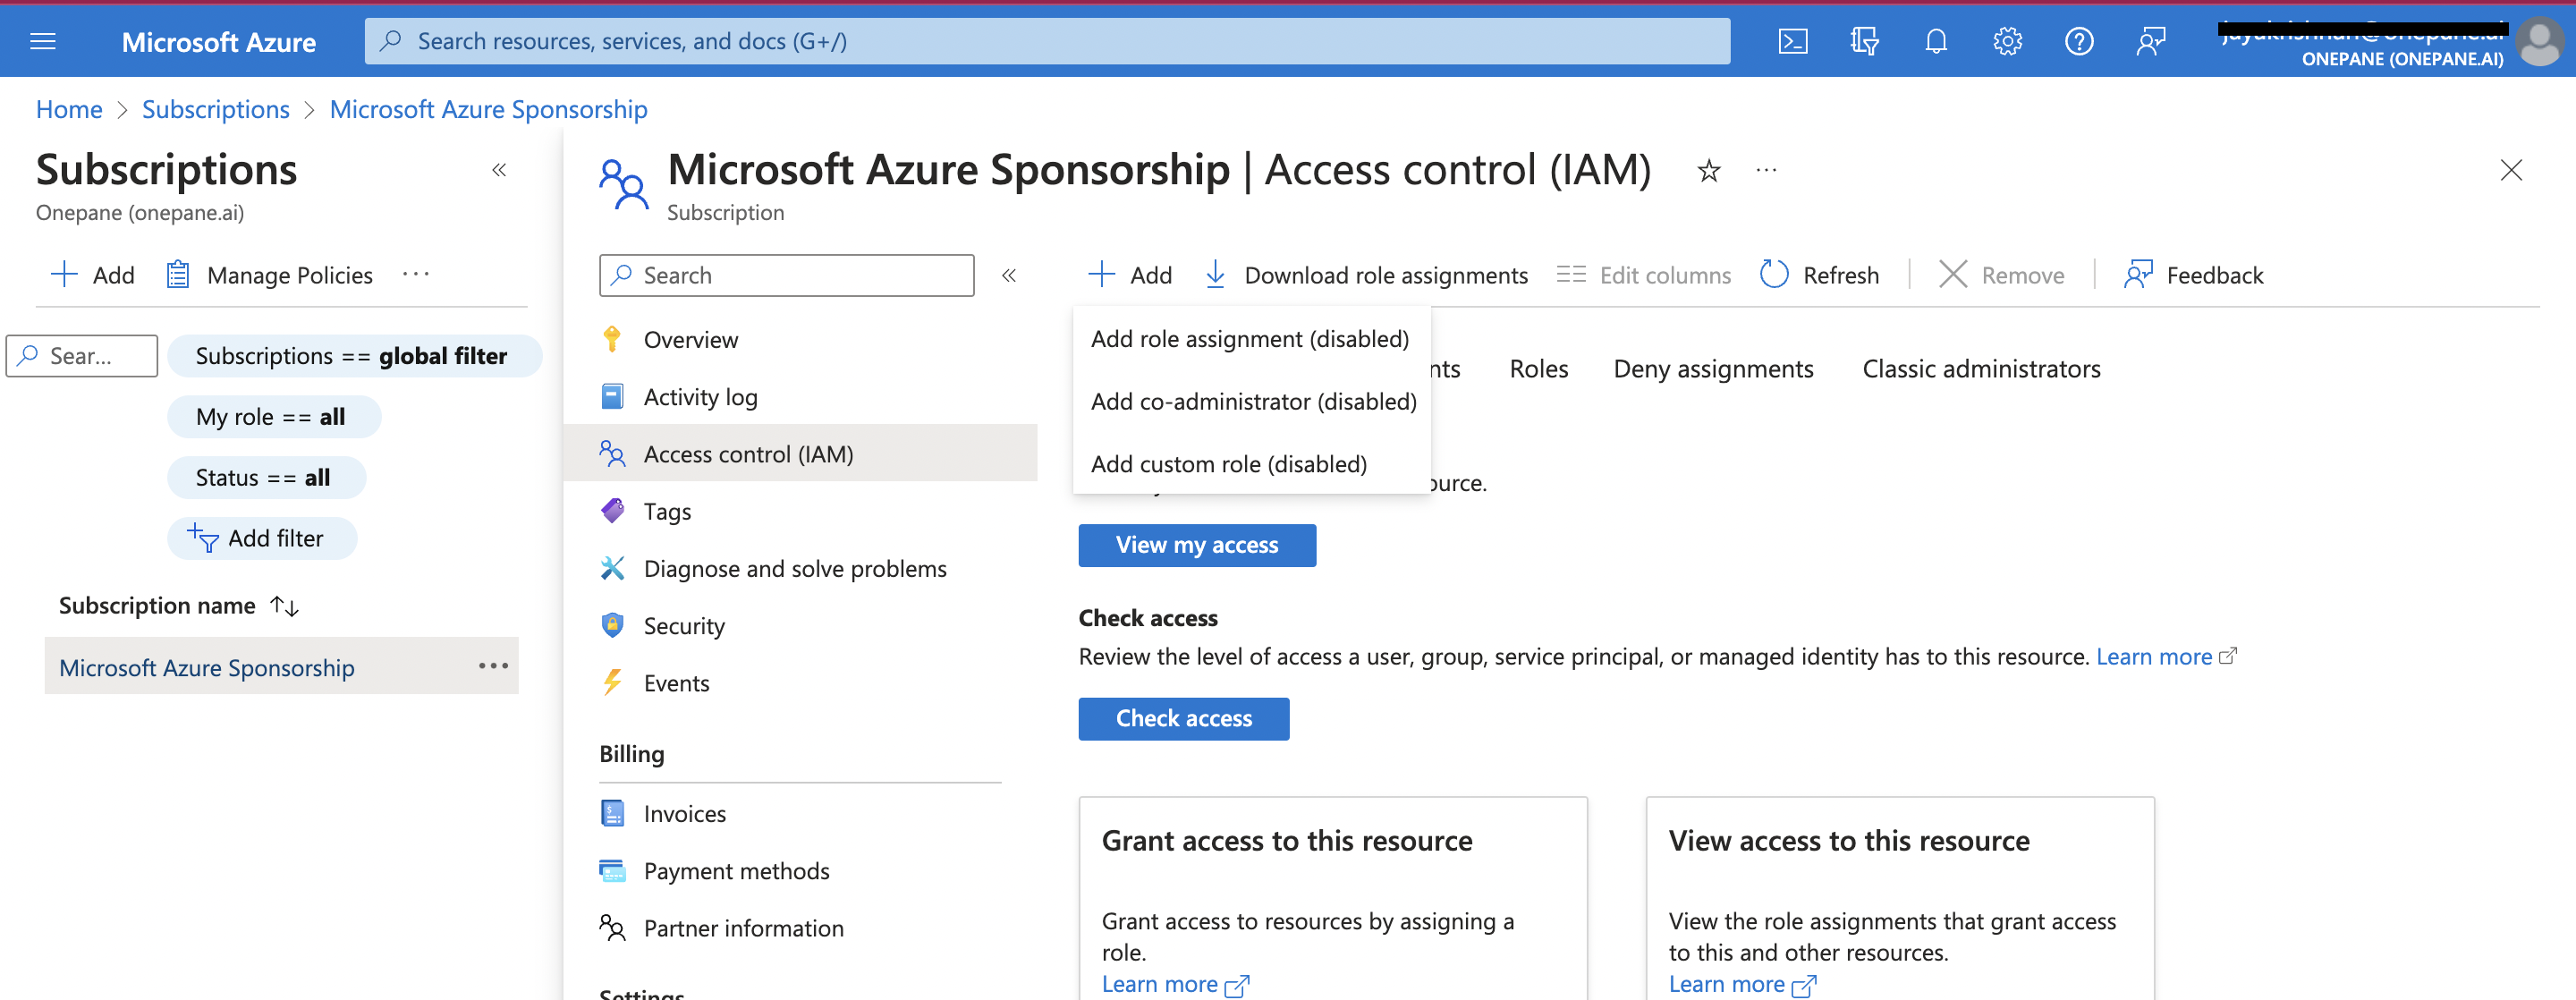
Give Reader access over the subscription for the ad application we created before

Step 10: Retrieve Application Details
Goto current application's overview page, note down the following information:
- Application (client) ID: This is a unique identifier for your application.
- Directory (tenant) ID: This is the ID of your Azure AD tenant.
- Client secret (optional): The secret which we created in the last step
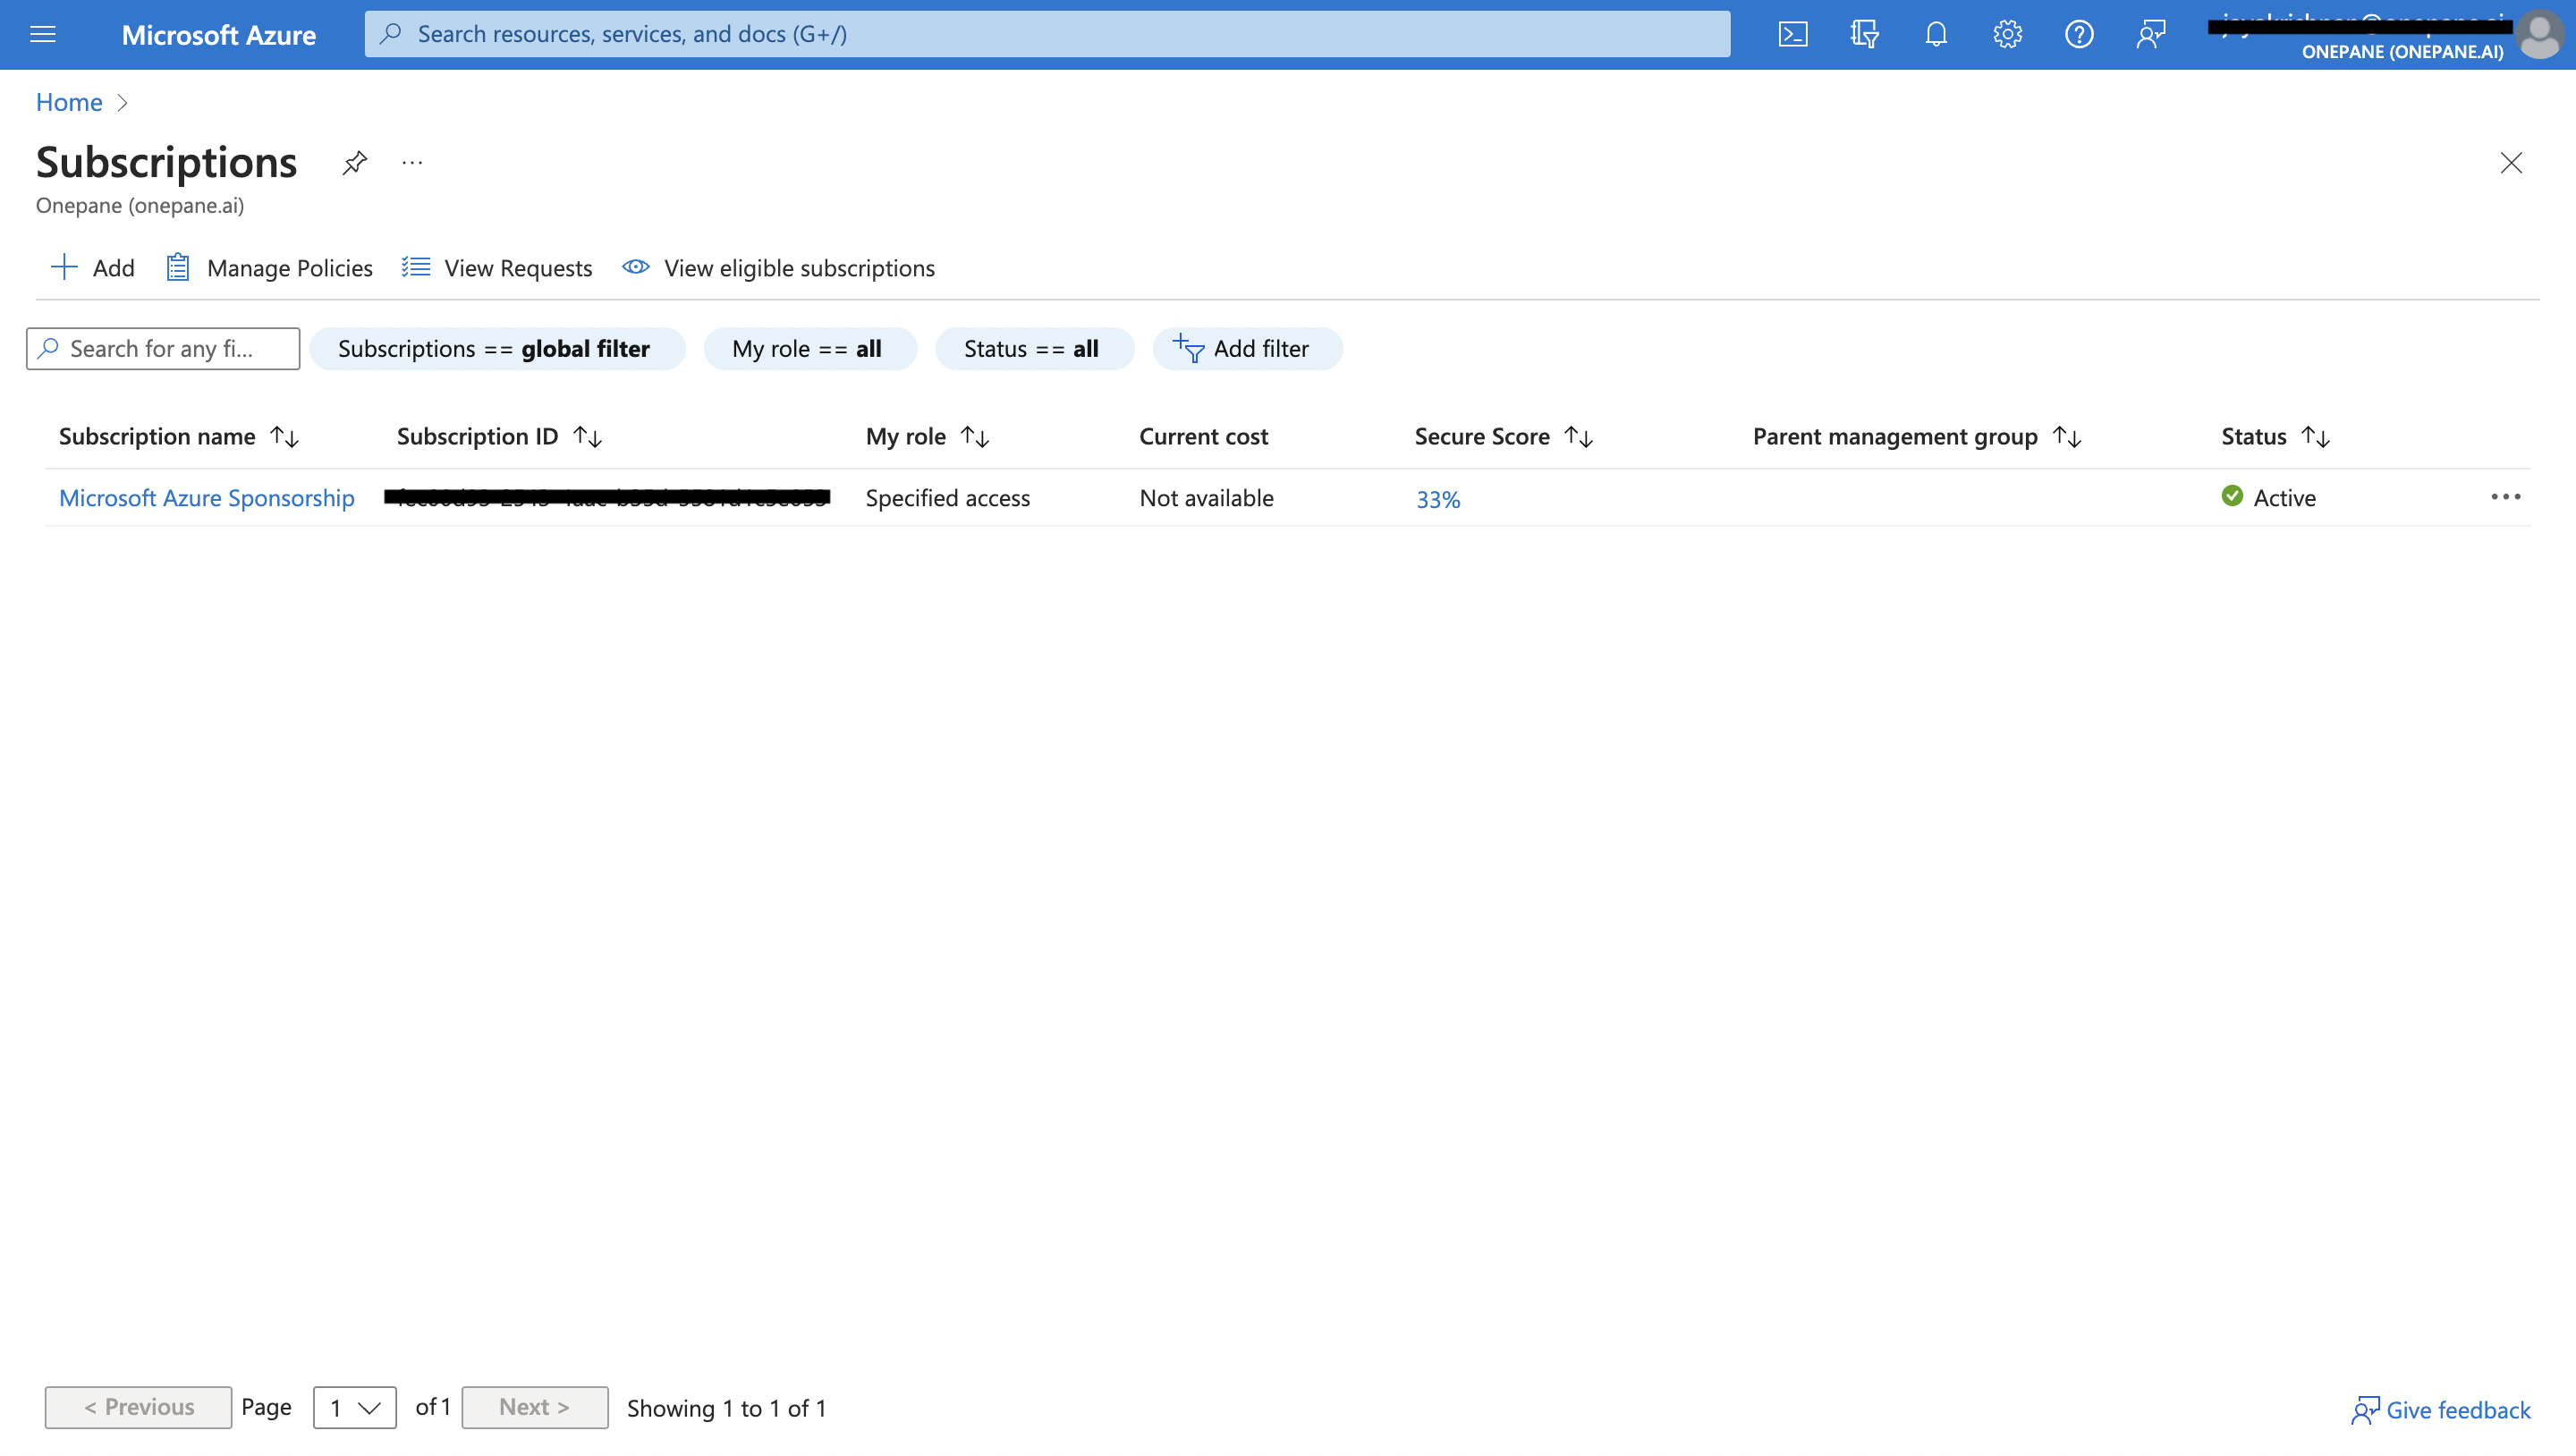
Goto subscriptions windows and get your subscription id
Subscription ID: This is a unique identifier for your subscription.
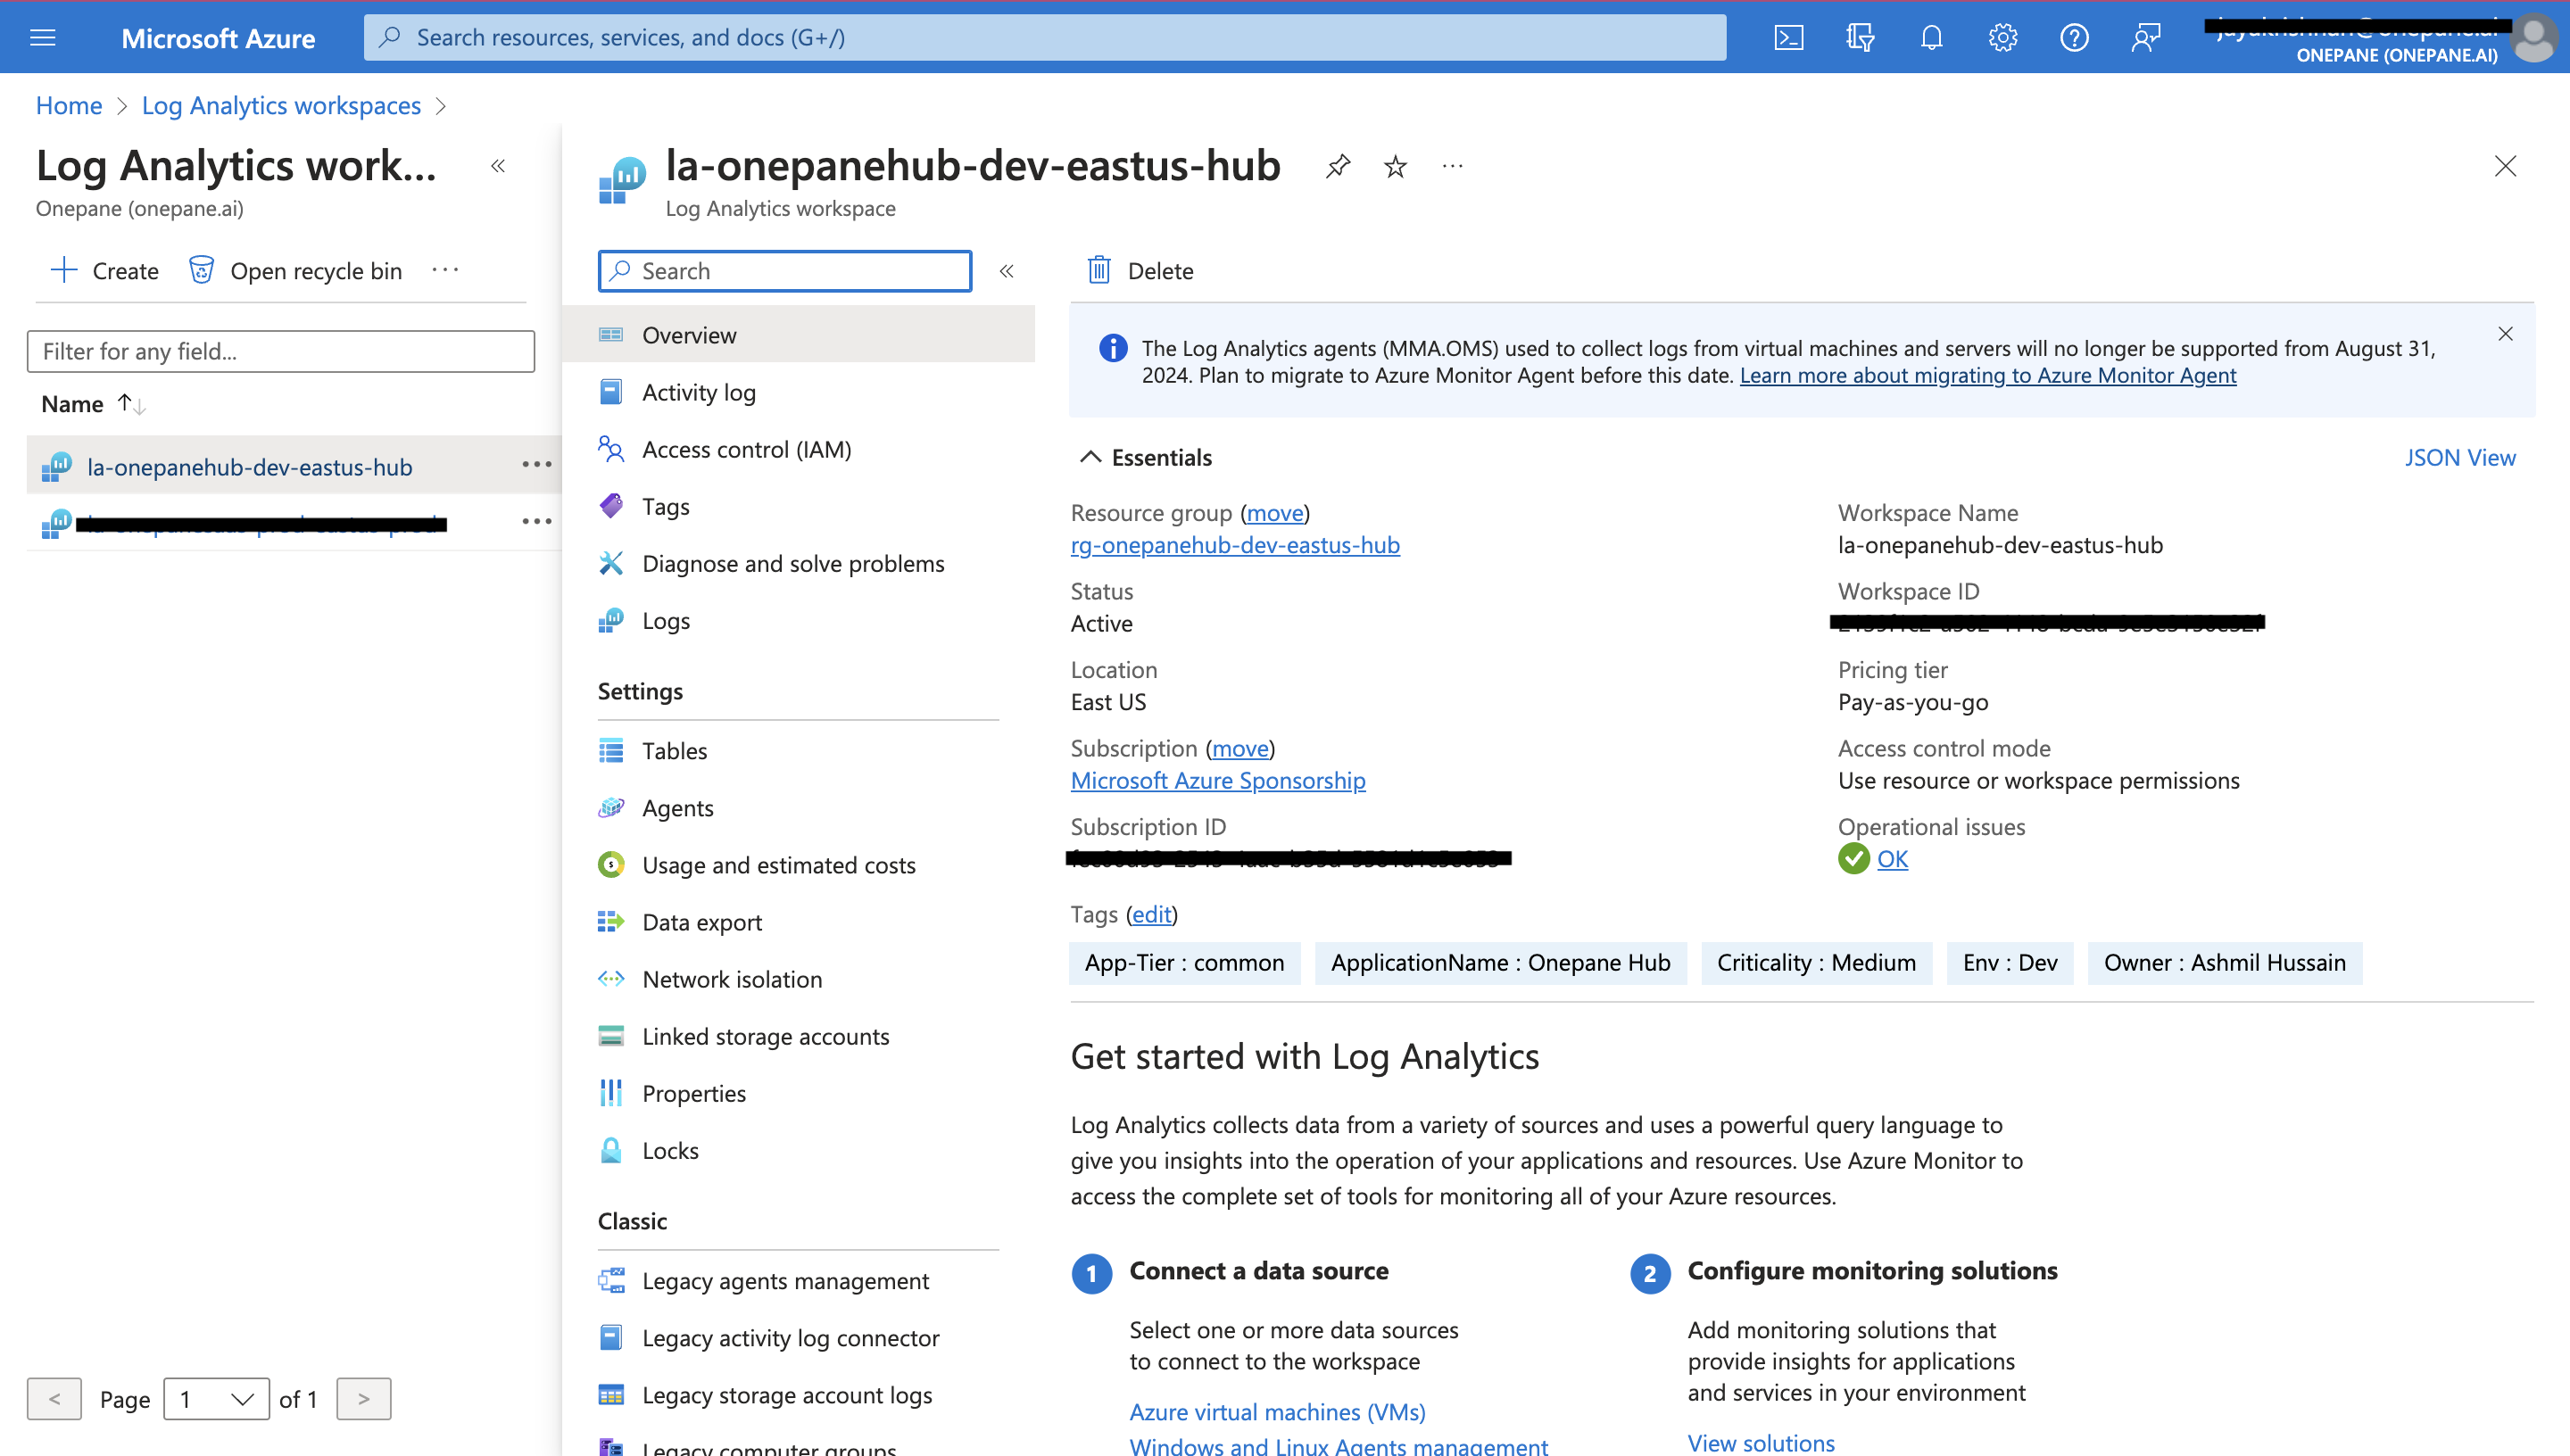
Goto your active Loganalytics workspace and get Loganalytics workspace id
WORKSPACE_ID: This is a unique identifier for your loganalytics workspace.
Step 11: Store Application Information Securely
- Keep the application details, including the client secret, in a secure location. These details will be used to authenticate and authorize your application to access Azure resources by onepane.
That's it! You've successfully created an Azure AD application with the necessary permissions for integrating with Azure resources and incident alerts.